Game Dev Update
Hi guys,
I’m here to do an update on my game dev journey. I tend to work in isolation, and I feel completely blind and unable to see my mistakes and bad design decision. So it's time to share and get some useful feedback on my work.
First of all a quick recap, I'm working on a puzzle game. The game follows a little girl on her journey to find her father.

The setting:
Our main character lives in a plastic toy-like world powered by batteries.
The story:
It is a story about a little girl left behind by her father. The last she remembers of her father is him closing the door behind him and leaving.
The main objective:
Find her father.
The challenge:
Her world turns into abandoned streets and endless doors.
Player goals:
1-Open doors by connecting each one to a battery.
2-Complete circuits and switch batteries on or off and solve puzzles.
The mood:
Sunset, midnight and sunrise.
The first part of the story takes place during sunset.
Time passes, and it slowly gets darker until the climax at midnight.
In the end, she tries to pick herself up to return back home at sunrise.
Look Development

Here is an early-stage look and feel exploration. In this stage I did a lot of modeling,
testing different textures, and colors. also looked up reference photos for toys.
Also, I experimented with colors, more on my struggles with colors in future posts.
At this stage my work was messy. And most of it was discarded, but as a result of this experimentation,
now have a clear vision of what this game could look like.
Here is a snapshot of that process.

Important design objectives:
1- create 3d objects to use over and over again around the environment without looking repetitive and boring.
While modeling random objects in Blender I was also learning unity. I have some experience with Unity, but, I forget how to use it. My big mistake started here, I had a long list of things to make, And I was intimidated to use Unity to construct my scenes. So I build everything in Blender. It took a long time to put things together in Blender and then move them to unity. Not to mention all the other models I spent a long time making and then discarding later. To make good use of my time I tried downloading existing free 3d models but that did not help. It is hard to find something to match what I already made, and everything seems out of place. So I kept working on my own models.
the process looked like this: make a bunch of items, and see if they fit the overall environment. I it works move to unity, if not keep making more.


2- play with camera angles. Set up scenes with interesting camera angles to make the place look abandoned.
To evoke the right feeling I had to study street photography. I looked at lots of images to understand what makes the scenes creepy and abandoned but still fit the world I’m creating.
To achieve that I came up with this:
A-First normal angle, eye level. ( set the camera to follow the player from behind trees and bushes)
B- start close, then every time the scene changes zoom out until the main character looks small compared to the world around them. Also, lose some detail the farther camera gets. (the further the camera the more empty the place look)
C- change to small and narrow allies with camera tilt.


4- set up the mood with lighting.
At this stage, I was lost and I couldn't find the right tutorial to teach me exactly what I need.
I’m now happy with the lighting, however, some of the colors are not showing the way I want, and the girl blends into the environment which makes her hard to spot. Still not a bad start. a lot of work and learning still needs to be done.
HDRP render.

Early on I found some difficulties choosing between HDRP and URP. I ended up using HDRP.
URP made the game slow, So slow, and a last-minute change was made to switch to HDRP.
I assume it's a post-processing effect and anti-aliasing that cause the problem.
If anyone knows please let me know.
Another problem I had that made me switch to HDRP is with colors. URP post-processing effects make the colors dull and put a wash of color on top. on the other hand, colors in HDRP stay true to the set color in the martial.
UPR test render.


5- find a way to include wires and switches.
Ok, this is when I had to design my game backward. I chose to focus on the art instead of creating a fully playable demo and then adding the art on top. It was not the most optimal way to go, and I know that. But I treated the whole project as an experiment. So what could go wrong?
Except this took me an embarrassingly long time to figure out.
Here are all the ideas I came up with. Remember the game is based on connecting wires and completing circuits.
Idea #1: An underground control panel complete with gears to move objects overground.


This idea was dismissed because it took me a long time to look at gears and how they worked.
The other flaw in this design is that the player will spend most of his/her time underground and I already put in hours designing the city on top.
Idea #2: over-ground control panel.
This was also a bad idea because every scene has a unique camera angle and the control panel has to be visible in every scene. It's even worse when the level is more advanced more buttons and switches I need to add, which means a bigger panel on every level.

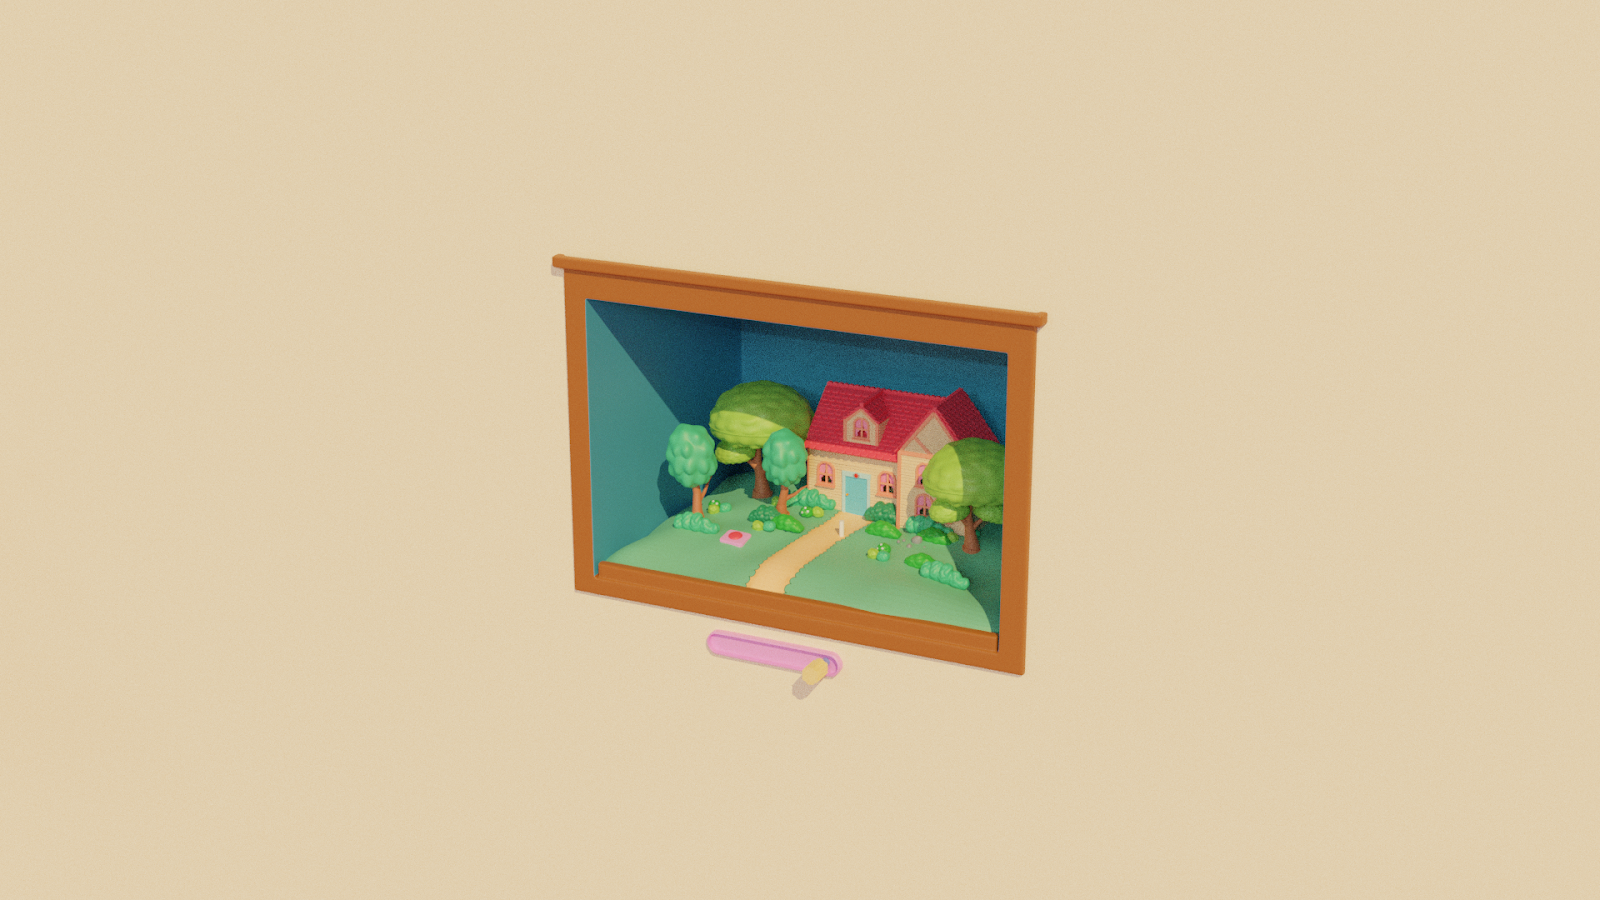
Idea #3: Framed Diorama( control panel on the wall ). This was a good idea, except it's hard to fit interesting camera angles in a frame, everything has to face forward and It's restricting.

Idea #4: stage
Same problem as the previous idea.

Idea #5: A box you can turn around. Each side has a different panel.
It's hard to fit a bigger scene in a box. So another no.

Idea #6: Keep the same scene and give the player the ability to connect wires and disconnect directly from the electricity pole(utility pole)
This is by far the most appealing idea. I still have to think about changing some scenes to fit all the cables in one frame.


Extra design decisions
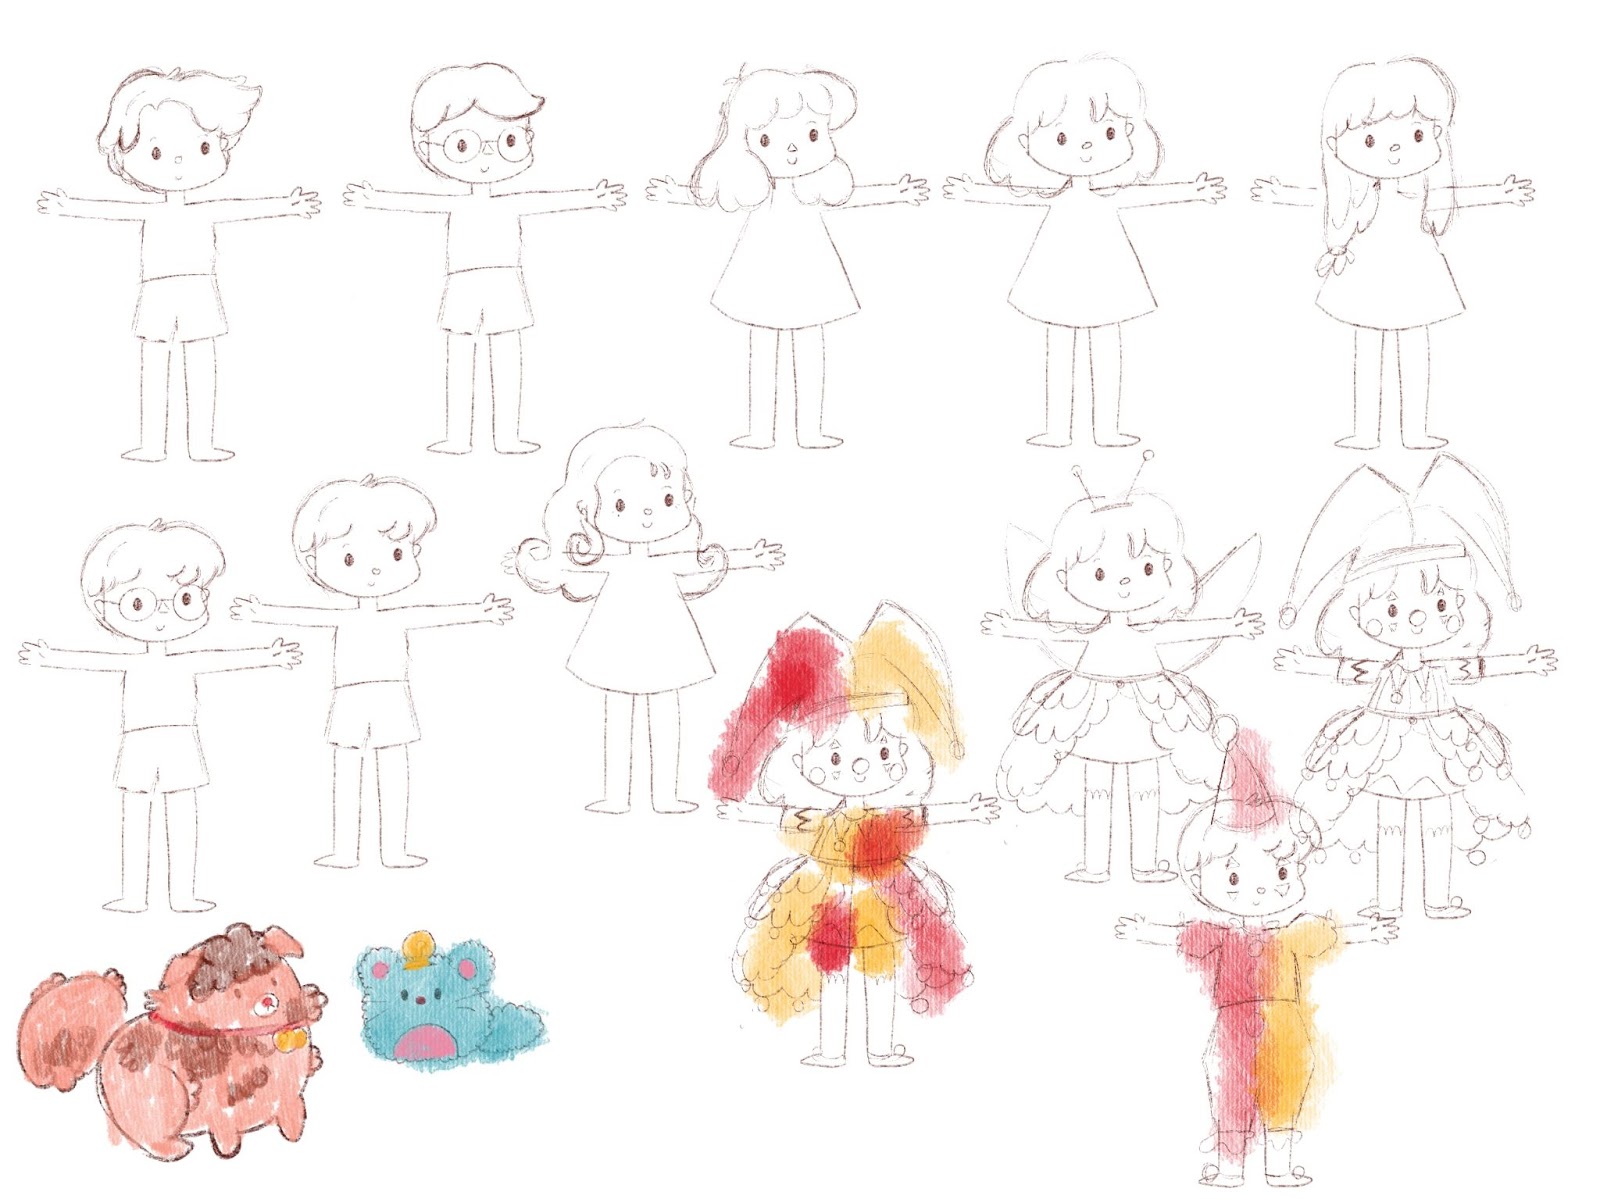
Changing outfit: time is money yes. But I still do waste some of my time on details.
Before and After

Other rejected designs

Future goals:
Level 1 we journey with the little girl around her neighborhood then we move to a bigger view of the city and then unknown places farther and farther. But in the next level, we go indoors as if she is looking for her dad through fragments of memories around the house, where the house slowly becomes unfamiliar and a strange place.
For levels 3 & 4 I want to explore the idea of the character lost in school or the woods. Both of those locations evoke feelings of fear and being lost. but that will be in the future.
Early work - Indoor modeling (indoor should contain endless corridors and locked doors)


Slowly it should get darker and darker.

Woods early design

school( concept art)
Puzzle design: in a nutshell, the whole game is based on logic gates.
AND, OR, XOR, NOT, NAND, NOR and XNOR.
Ture = connected to a battery.
False = disconnected.
AND is true when all inputs are true.
OR is true when one input is true.
XOR is true if either, but not both, of the inputs are true.
NOT flips true into false and false into true.
Ect.
The more cables are added to the scene the more complex the logic circuit gets.
This is the first layout and puzzle design done while brainstorming my game.
At that time, I had no clue what the game will look like. All I had was a bunch of photo references and some sketches. You can go back and read more about the whole process on my blog.
Back then, the puzzle relied on pushing buttons near each door to switch power on or off.

Building a system (extra details)

How dese the code works?
-code #1 each utility pole contains a script that holds a couple of values. One to check if it is connected to anything, and one for the game object connected to it. The same script checks if there is any connection, and helps connect and disconnect any cable dragged to nearby locations.
- code #2 is attached to the main camera. It is used to check camera location and sends camera position to drag and drop code. This helps to offset any dragged object position away from the camera.
- code #3 converts all utility poles' locations to screen position, and checks if a dragged object is at the same screen location as any pole.
- code #4 bezier curve: this one draws a curve between two game objects.
Code #5 drag and drop: this is the main script. It access information from all other scripts. First, it connects to code #2 to offset dragged object. then keep checking if the game object intersects with anything by connecting to code #3. Connect and disconnect using code #1.
Sound complicated but it's the simplest solution.
Code #6 logic gate. The last code checks if the other end of the cable is attached to a battery. Then perform the logic and turn the light on or off according to the result.
That’s it for the update. It is a learning journey. I would love it if you would join me on my journey by following me on Twitter Juicebox (@juicebo04840840) and I will try my best to keep you updated.
If you are a game developer please feel free to give me your feedback and suggestions. I’m still learning and your input is appreciated.
Email: juiceboxplay@gmail.com
Support me: https://ko-fi.com/juice48806
Much love.

Comments
Post a Comment